How to build a multi-component app in Gradle without uploading each component to Maven each time it’s updated.
Developing an application and a few libraries in parallel could be quite painful.
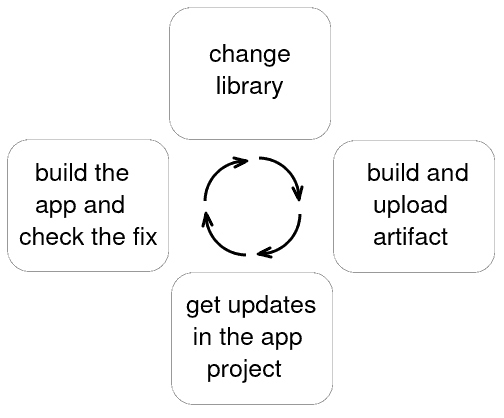
On one hand, it makes sense to create a separate Git repository (and a separate Gradle project) for each library and for the app itself. Then the libraries and the app would be connected via Gradle dependencies. So if a bug in the app is caused by a bug in one of the libraries, to fix it one has to
- make a change in the library;
- build and upload the library artifacts to the Maven/Ivy repository;
- download the new versions of the library artifacts from the app project;
- build the app and …
- … check if the change actually fixes the app, if not, go to (1)
This cycle is annoying and slow, especially if the building process involves running all tests on the CI.
On the other hand, there’s another approach: put all libraries and apps into the same Git repository (so-called “monorepo”). It would work for some projects but in general it’s not a good idea.
One could put the common library into a Git submodule to the app repository, but …
In this post, I will describe how to set up a multi-component (libraries + an app) Gradle-based project that uses Git X-Modules to glue them together. This solution has the best from both worlds: every component resides in its own repository and can be built separately. But also the app can be built together with the libraries thus avoiding the “painful cycle”.
Infrastructure
For the purpose of this project, I will use Atlassian Bitbucket Server/Data Center as the Git server. It’s also convenient because there’s a special Git X-Modules App for it. If you are on any other Git Server, the configuration and the steps would be similar, although the UI will look different, and you will have to use Git X-Modules as a command-line tool.
I will also use the latest version of Gradle to date, which is 6.7.1.
As an example, I will create a simple Java application that uses a simple library. The application will be named ‘app’ and the library will be named ‘lib’.
The approach.
To create a multi-component Gradle-based project I will use the “Composite builds” feature of Gradle.
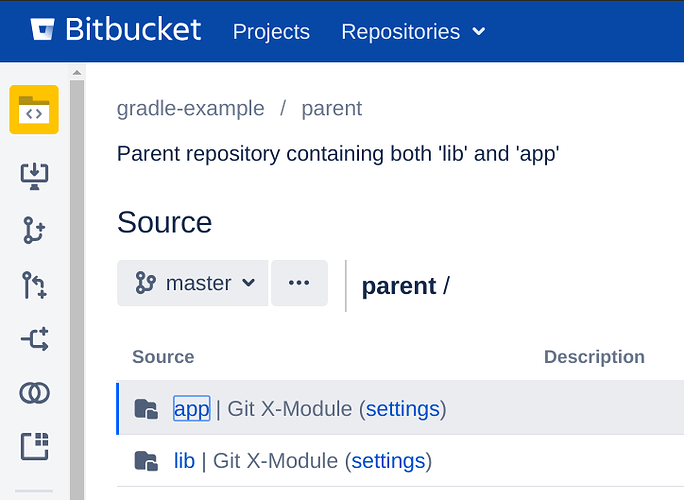
I will create 3 Git repositories: one for the ‘app’, one for the ‘lib’, and the third one (‘parent’) to unite both ‘app’ and ‘lib’ under one roof.
Each of the repositories can be cloned and built with Gradle independently of all others.
Step 1. Create a Git repository for ‘lib’.
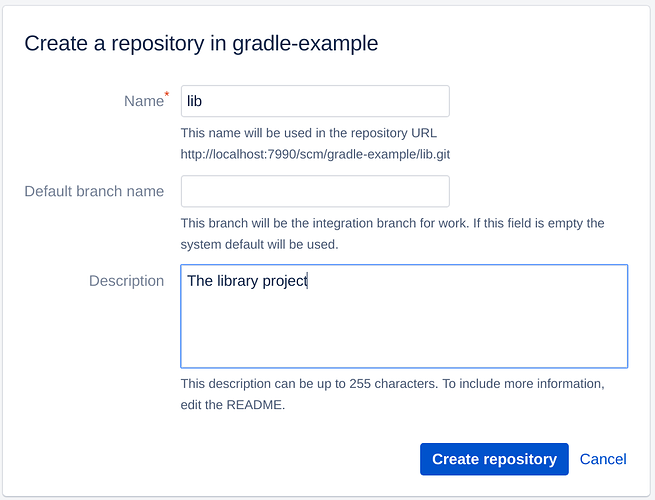
Create a ‘lib’ repository using Atlassian Bitbucket Server/Data Center UI.
Clone this empty Git repository (I suppose the Bitbucket Server/Data Center is run on example.org domain):
git clone http://example.org/scm/gradle-example/lib.git lib/
cd lib/
Create src/main/java/library/Library.java file with the following content:
package library;

public class Library {

    public static void printGreetings() {
        System.out.println("Hello from the library!");
    }
}
Create build.gradle with this content:
apply plugin: 'java'

group "lib"
version "1.0"
The project is quite minimalistic, its structure is:
├── build.gradle
└── src
    └── main
        └── java
            └── library
                └── Library.java
Make sure the ‘lib’ project can be built separately:
gradle build

BUILD SUCCESSFUL in 925ms
2 actionable tasks: 2 executed
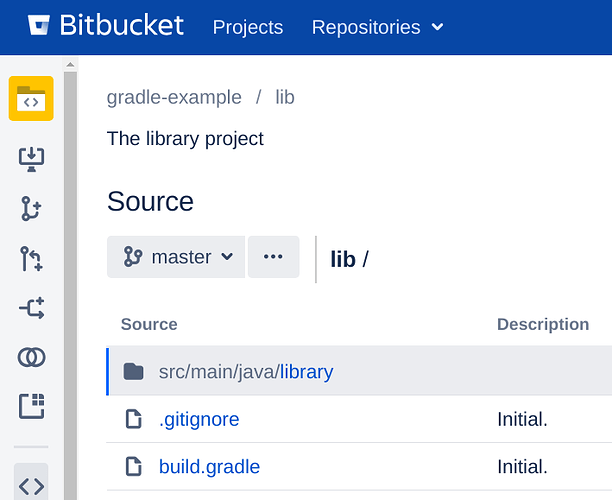
Commit and push the changes:
git add src/main/java/library/Library.java
git add build.gradle
echo "/build/" > .gitignore
git add .gitignore
git commit -m "Initial."
git push origin master
Step 2. Create a Git repository for ‘app’.
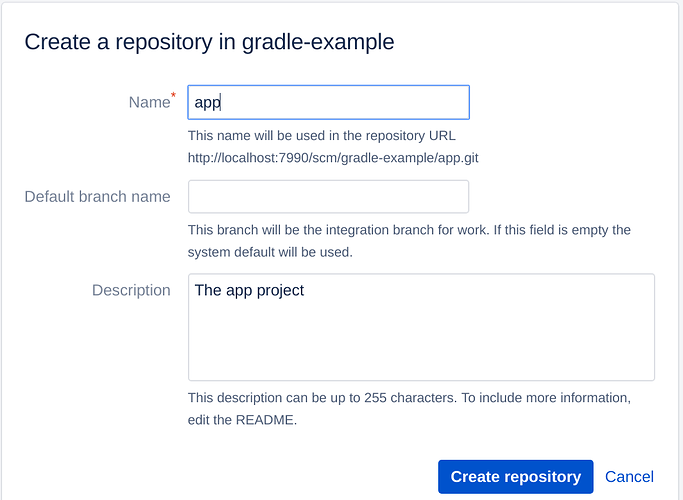
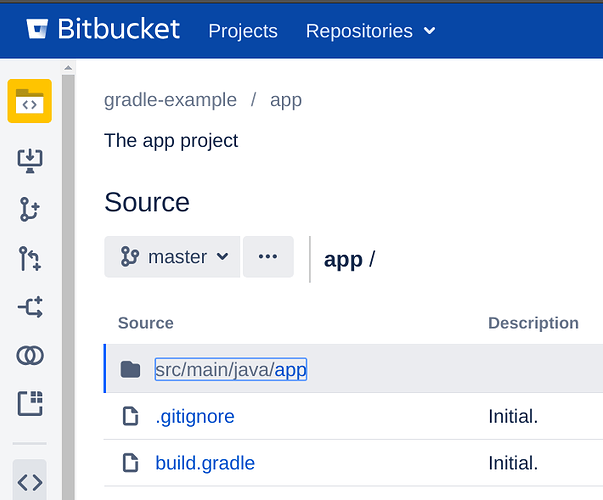
Create an ‘app’ repository using Atlassian Bitbucket Server/Data Center UI.
Clone this empty repository:
git clone http://example.org/scm/gradle-example/app.git app/
cd app/
Create src/main/java/app/App.java file:
package app;

import library.Library;

public class App {

    public static void main(String[] args) {
        Library.printGreetings();
        System.out.println("Hello World!");
    }
}
It invokes the library method. Also, create build.gradle:
apply plugin: 'java'
apply plugin: 'application'

mainClassName='app.App'

dependencies {
    implementation 'lib:lib:1.0'
}
Because of the dependency, its compilation will fail unless the artifact of the ‘lib’ project is uploaded to the Maven repository:
gradle build
> Task :compileJava FAILED

FAILURE: Build failed with an exception.

* What went wrong:
Execution failed for task ':compileJava'.
> Could not resolve all files for configuration ':compileClasspath'.
   > Cannot resolve external dependency lib:lib:1.0 because no repositories are defined.
     Required by:
         project :

* Try:
Run with --stacktrace option to get the stack trace. Run with --info or --debug option to get more log output. Run with --scan to get full insights.

* Get more help at https://help.gradle.org

BUILD FAILED in 736ms
1 actionable task: 1 executed
But once the artifact is uploaded to the Maven/Ivy repository, the compilation will succeed.
Commit and push the changes:
git add src/main/java/app/App.java
git add build.gradle
echo "/build/" > .gitignore
git add .gitignore
git commit -m "Initial."
git push origin master
Step 3. Make sure that the Git X-Modules app is installed.
From Bitbucket Server/Data Center UI go to Administration | Find new apps | Search the Marketplace and type “X-Modules”. Install the app if it’s not installed.
Step 4. Create a Git repository for ‘parent’.
I will create a ‘parent’ repository that would contain ‘lib’ and ‘app’ as X-Modules (from the Git perspective they will be regular Git directories). And then I will add additional Gradle configuration files to build the whole project from sources, skipping Maven/Ivy.
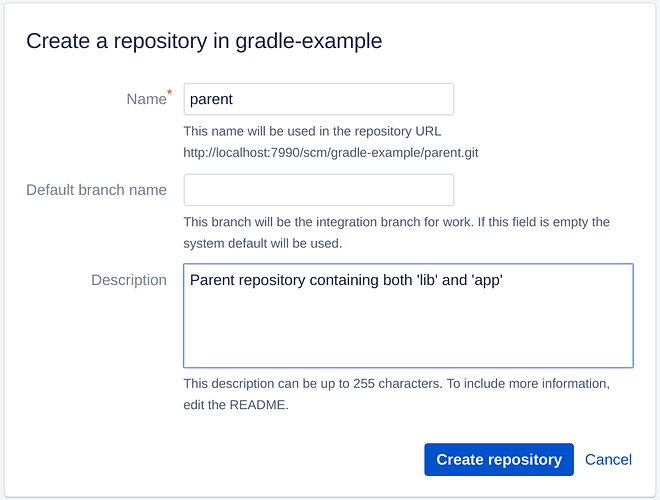
Create a ‘parent’ repository using Atlassian Bitbucket Server/Data Center UI.
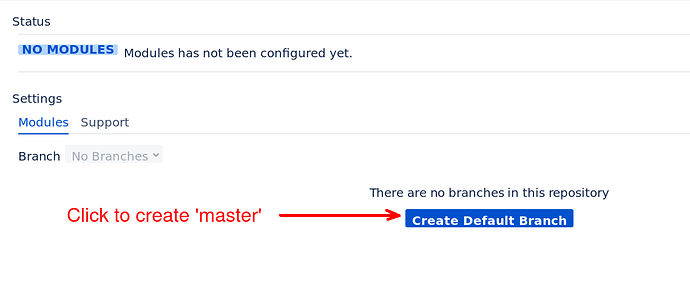
When the Git X-Modules app is installed there’s an “X-Modules” button on the ‘parent’ repository page. Click it.
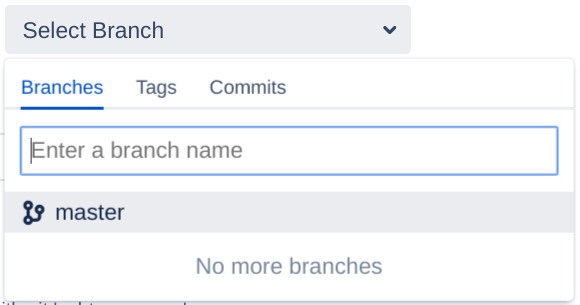
As there’re no branches in the repository, click “Create Default Branch” to create ‘master’.
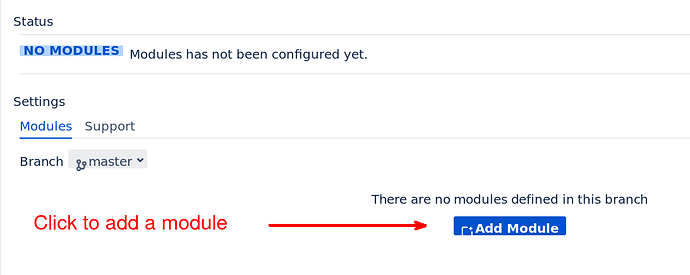
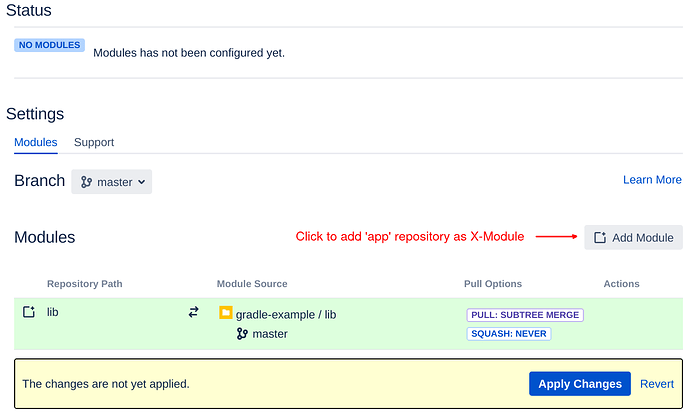
Now click “Add Module” to add ‘lib’ to the project.
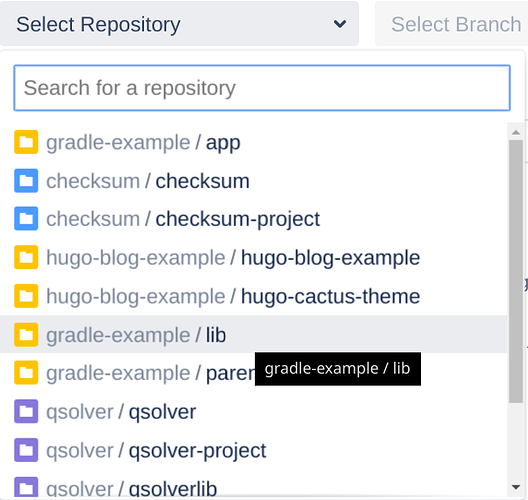
Choose the ‘lib’ repository.
And the ‘master’ branch.
Make sure “This Repository Path” is “lib”. It’s the path where the ‘lib’ repository will be inserted.
Click “Add Module”.
Without applying the changes click “Add Module” again.
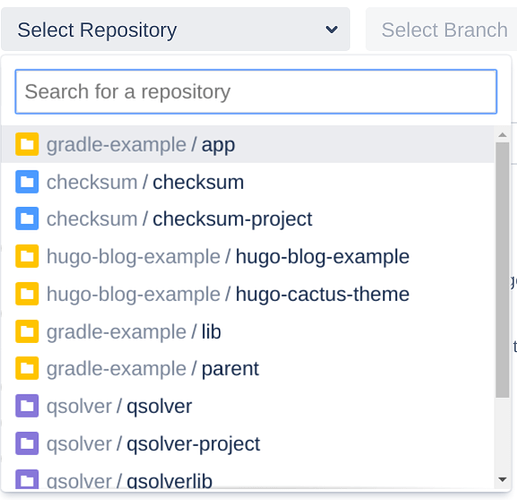
Choose the ‘app’ repository and ‘master’ branch in it.
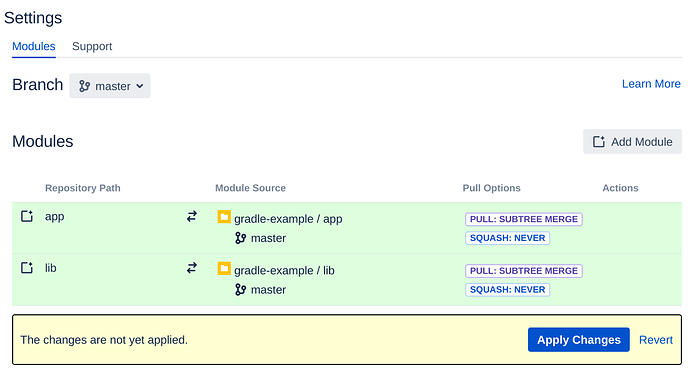
Now make sure “This Repository Path” is “app”.
Click “Add Module”.
Apply the changes.
Now the ‘parent’ repository contains ‘lib’ and ‘app’ subdirectories with the content of ‘lib’ and ‘app’ repositories correspondingly.
Clone the ‘parent’ repository:
git clone http://example.org/scm/gradle-example/parent.git parent/
cd parent/
├── app
│   ├── build.gradle
│   └── src
│       └── main
│           └── java
│               └── app
│                   └── App.java
└── lib
    ├── build.gradle
    └── src
        └── main
            └── java
                └── library
                    └── Library.java
Now create the settings.gradle file with the following content:
rootProject.name = 'parent'

includeBuild 'lib'
includeBuild 'app'
It will tell Gradle to build ‘lib’ from sources instead of getting the corresponding artefact from Maven. Finally, create build.gradle:
tasks.register('run') {
    dependsOn gradle.includedBuild('app').task(':run')
}
This will create a “run” task for the parent project and delegate it to the ‘app’ project.
Now the parent project can be built from sources bypassing Maven:
gradle build
gradle run
> Task :app:run
Hello from the library!
Hello World!

BUILD SUCCESSFUL in 936ms
Add and commit the changes:
git add build.gradle
git add settings.gradle
git commit -m "Gradle configuration files added."
git push origin master
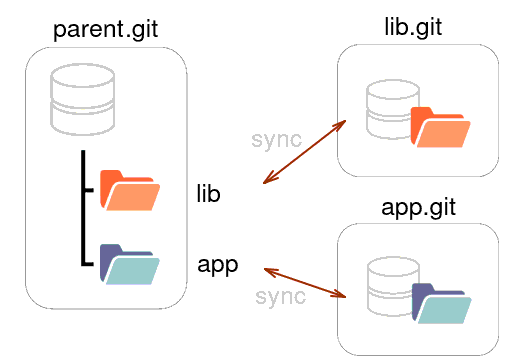
Now the parent repository contains both ‘lib’ and ‘app’ modules and can be built from sources independently. Any change to “lib/” and “app/” subdirectories of the parent will be automatically synchronized with ‘lib’ and ‘app’ repositories by the Git X-Modules app.
The ‘lib’ repository can be also used by another app. Just create another ‘parent’ repository containing the ‘lib’ repository and the other app’s repository as X-Modules.
